A perfect mold means a perfectly shaped casting object. Not only does it show your creative side, but it shows your professionalism. And those of us who love DIY projects, knowing how to make ceramic molds comes in handy in this regard.
To make a ceramic or plaster mold, you need to choose a model first. Then you need to mark its midsection and cover half of it and the top and bottom of the model with clay. After that, prepare your plaster mix and pour it inside the wooden box where the clay is placed. Remove the wood after half of the mold has dried, and then repeat the process on the other side.
I know that’s not enough information to have you prepare and use ceramic molds. So how about some detailed discussions? If you are up for it, you can check out the rest of today’s article.
Quick Navigation
What Are Ceramic Molds Made Of?
We have always seen people pouring liquid inside a container or box and magically producing items of different shapes. That magical liquid is created to prepare the mold for casting various shapes. But what do they use to make that mold?
Ceramic molds are basically a combination of plaster and water. In some cases, people add concrete to ceramic molds. Different combinations provide you with different results.
How To Make Ceramic Molds?
So, are you ready to make some ceramic molds? The trick is to do things right, obviously. The steps are not very simple but not very complicated either. So here is the simplest instruction that I could come up with for you to make a ceramic mold.
Things You Will Need
- Model
- Marker
- Mold release/demolding soap
- Brush
- Mixing container
- Wood
- Plaster mix
- Clay
- Water
- Whisk
- Scales and tools
- Spatula
Step 1: Prepare The Model
A molding model is an object whose shape you want to cast. Use a marker and draw a line along the midsection of the model. You can use a scale to do the measurement. It will help make a two-piece ceramic mold.
Step 2: Fill And Cover With Clay
Now, place the model on its side on a clay sheet and cover half of the model. If the model is open, you can fill it with old cloth and seal the top and bottom with more clay.
The clay mold should be flat and keep at least 1-1.5 inches of clay around the model. Then apply some demolding soap on the exposed area of the model with a brush.
Step 3: Place The Wooden Box
Place four wooden boards around the clay mold and tighten it with clamps. You can seal the outer areas of the box with clay to be safe.
Step 4: Prepare Mold Mixture
Take a container to prepare the molding mix. The mixture measurement should be 700 grams of water for one kilogram of plaster. You can use a whisk to mix the solution properly.
Step 5: Pour The Mold Mixture
Pour the mixture slowly at the lower point or a corner of the wooden container. Do not pour it directly on the model. Pour enough mixture so that the model goes fully submerged. Then tap on the wood to remove air from the mixture.
Step 6: Dry The Mold And Repeat
It takes around 24 hours for the mold to dry completely. After the time is up, remove the wooden container. Turn the mold with clay upside down and pull it out of the plaster mold. Your model will be with the newly made plaster mold.
Use a spatula to even the mold surface. Then clean the model with water and wipe it off with a rag. Now apply demolding soap on that area with a brush and repeat steps 3 and 5.
Step 7: Clean And Use
Your ceramic mold is almost ready. But you need to separate both parts and take out the model first. If you can’t open the mold by pulling it, try hitting the midsection lightly using a spatula and a hammer.
Take out your model and clean the mold using a brush and spatula to even different corners and areas. Finally, your ceramic mold is ready to be used.
What Are Ceramic Molds Used For?
You may already know, clays contain earth, minerals, and water. But if the water is not absorbed completely, the clay will fail to create something durable. It can also end up sticking to the mold you use.
This is where ceramic molds step in. Ceramic molds are known for their ability to absorb water from clay. That’s why they are widely used for pottery and ceramic works.
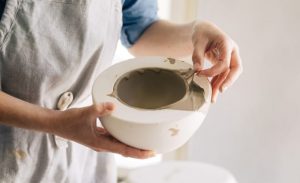
How To Use Ceramic Molds?
The process of making ceramic wares through molds is called slip casting. You have to mix bone clay and water to prepare the slip. You also need to use demolding soap so that the clay particles will not stick.
Then you have to transfer the mixture into the plaster cast mold. Pour it until it is filled to the brim and wait for the mold to dry before separating them. You can use a single mold to create several identical pieces.
Are Ceramic Molds Reusable?
Ceramic molds are reusable, which makes them more suitable for making different things. Its ability to be reused allows you to experiment with your skill and build different things. But how do you recycle it or make it reusable?
You can do it in two ways: dehydrating the mold and breaking it. Both of them are pretty simple processes.
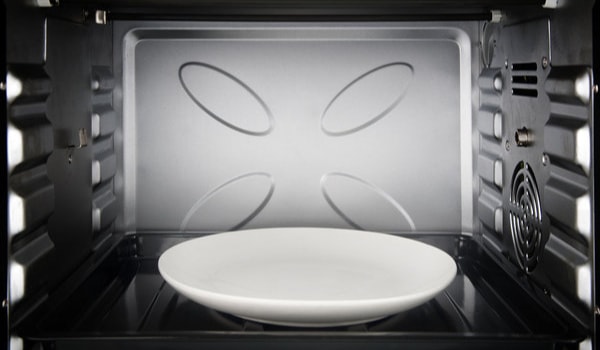
The first method is to place the mold into an oven and bake it at a high temperature for around two hours. You can reuse it after cooling down. The baking process helps dry the absorbed water in the mold.
The other option is to break the mold using a hammer and then pulverize it into power. And then, you can bake the powder into an oven at a high temperature for two hours. You can add some water and plaster mix to recreate the mold.
Can You Make Ceramic Molds From 3D Prints?
The 3D print system is getting more and more popular these days. And it has also made its way to print ceramic molds for casting.
The advantage of having 3D print ceramic molds is that they are more modern and do not require any handwork. The trick is to choose a design with parts that would make the casting job simpler.
Can Ceramic Molds Be Used For Glass?
You will see various glass items in shops. Did you ever wonder if some of them were cast in ceramic molds? Because ceramic molds can do a hell of a good job when it comes to casting glasses.
If you want to create mesmerizing glass artwork, ceramic molds will come in handy for you. Such molds are simple to use and suitable for use several times.
Ceramic molds allow you to design glass tiles, plates, bowls, and many other beautiful pieces. You can have various mold shapes to bring out more unique designs in your desired glass items.
Can Ceramic Molds Be Used With Cement?
Some people choose to go for two-ingredient molds. Here, you have two options. You either use concrete or go with the plaster of Paris.
In this method, you need to make a proper concrete mix. Then press it on each side of the mold and scrape off the excess concrete from the edges. Finally, let it sit for around 24 hours before you unmold it.
The downside of ceramic molds with concrete is that plaster will not be the same. You have to break the mold to release the cast.
Can You Cast Metal In A Ceramic Mold?
Ceramic has an excellent high-temperature resistance ability. For this reason, ceramic molds are a good option for casting metals. Metals are melted at a high temperature and then poured inside the mold to cast various shapes and designs.
You pour the hot metal into the cold ceramic mold to cast it. Using ceramic molds for metal casting is cost-effective as they are reusable.
Can Ceramic Molds Get Wet?
Yes, it is not unusual for ceramic molds to get wet. Ceramic molds are porous, which means they absorb water.
Every time you do ceramic casting, the mold gets wetter. And the wetter it gets, the longer it will take to create another casting. That’s why it is essential to dry the mold before reusing it.
Is there a way to know if the mold needs drying? Yes, there is. You will know when the mold is wet because it will feel cold and clammy. Also, note that if you dry the mold too often, it can cause stress or cracks.
EndNote
It seems you can learn how to make ceramic molds within a short time. But it is not as simple as it looks. I know it does not sound assured, but you have to give it a few tries and trials before perfecting the craft.
Make sure you prepare everything beforehand to avoid having to rush when working on the mold. Since molds are reusable, you can use them as much as you want to create your favorite object.